
Heater Core
Motivation
The heater core in my car had been bypassed years ago due to a leak, and I finally decided it was time to tackle the issue properly. I picked up a replacement core and got to work. The new core (pictured on the right) was noticeably thinner than the original, which gave me pause at first. I was concerned it might not fit snugly or perform as well. Fortunately, it ended up being a perfect match—mainly thanks to the replacement mounting bracket I installed, which was taller than the original and compensated for the thinner core. As it turned out, upgrading the bracket was necessary anyway; the old one was brittle and cracked during removal. New mounting bracket: [Amazon Link](https://www.amazon.com/gp/product/B01C7LACOS/) The most challenging part of the job was removing one of the nuts securing the heater unit to the firewall. One of them is tucked behind the fender with very limited access, making it a pain to reach. I managed to get a wrench on it, but I could only turn it about 1/8th of a turn at a time. It took a while, but I eventually got it off. For now, I’ve decided not to reinstall that particular nut. With four other nuts holding everything securely, it’s not a critical piece—though I may revisit it later. I took the opportunity to paint the heater cover while it was out.
More in this section
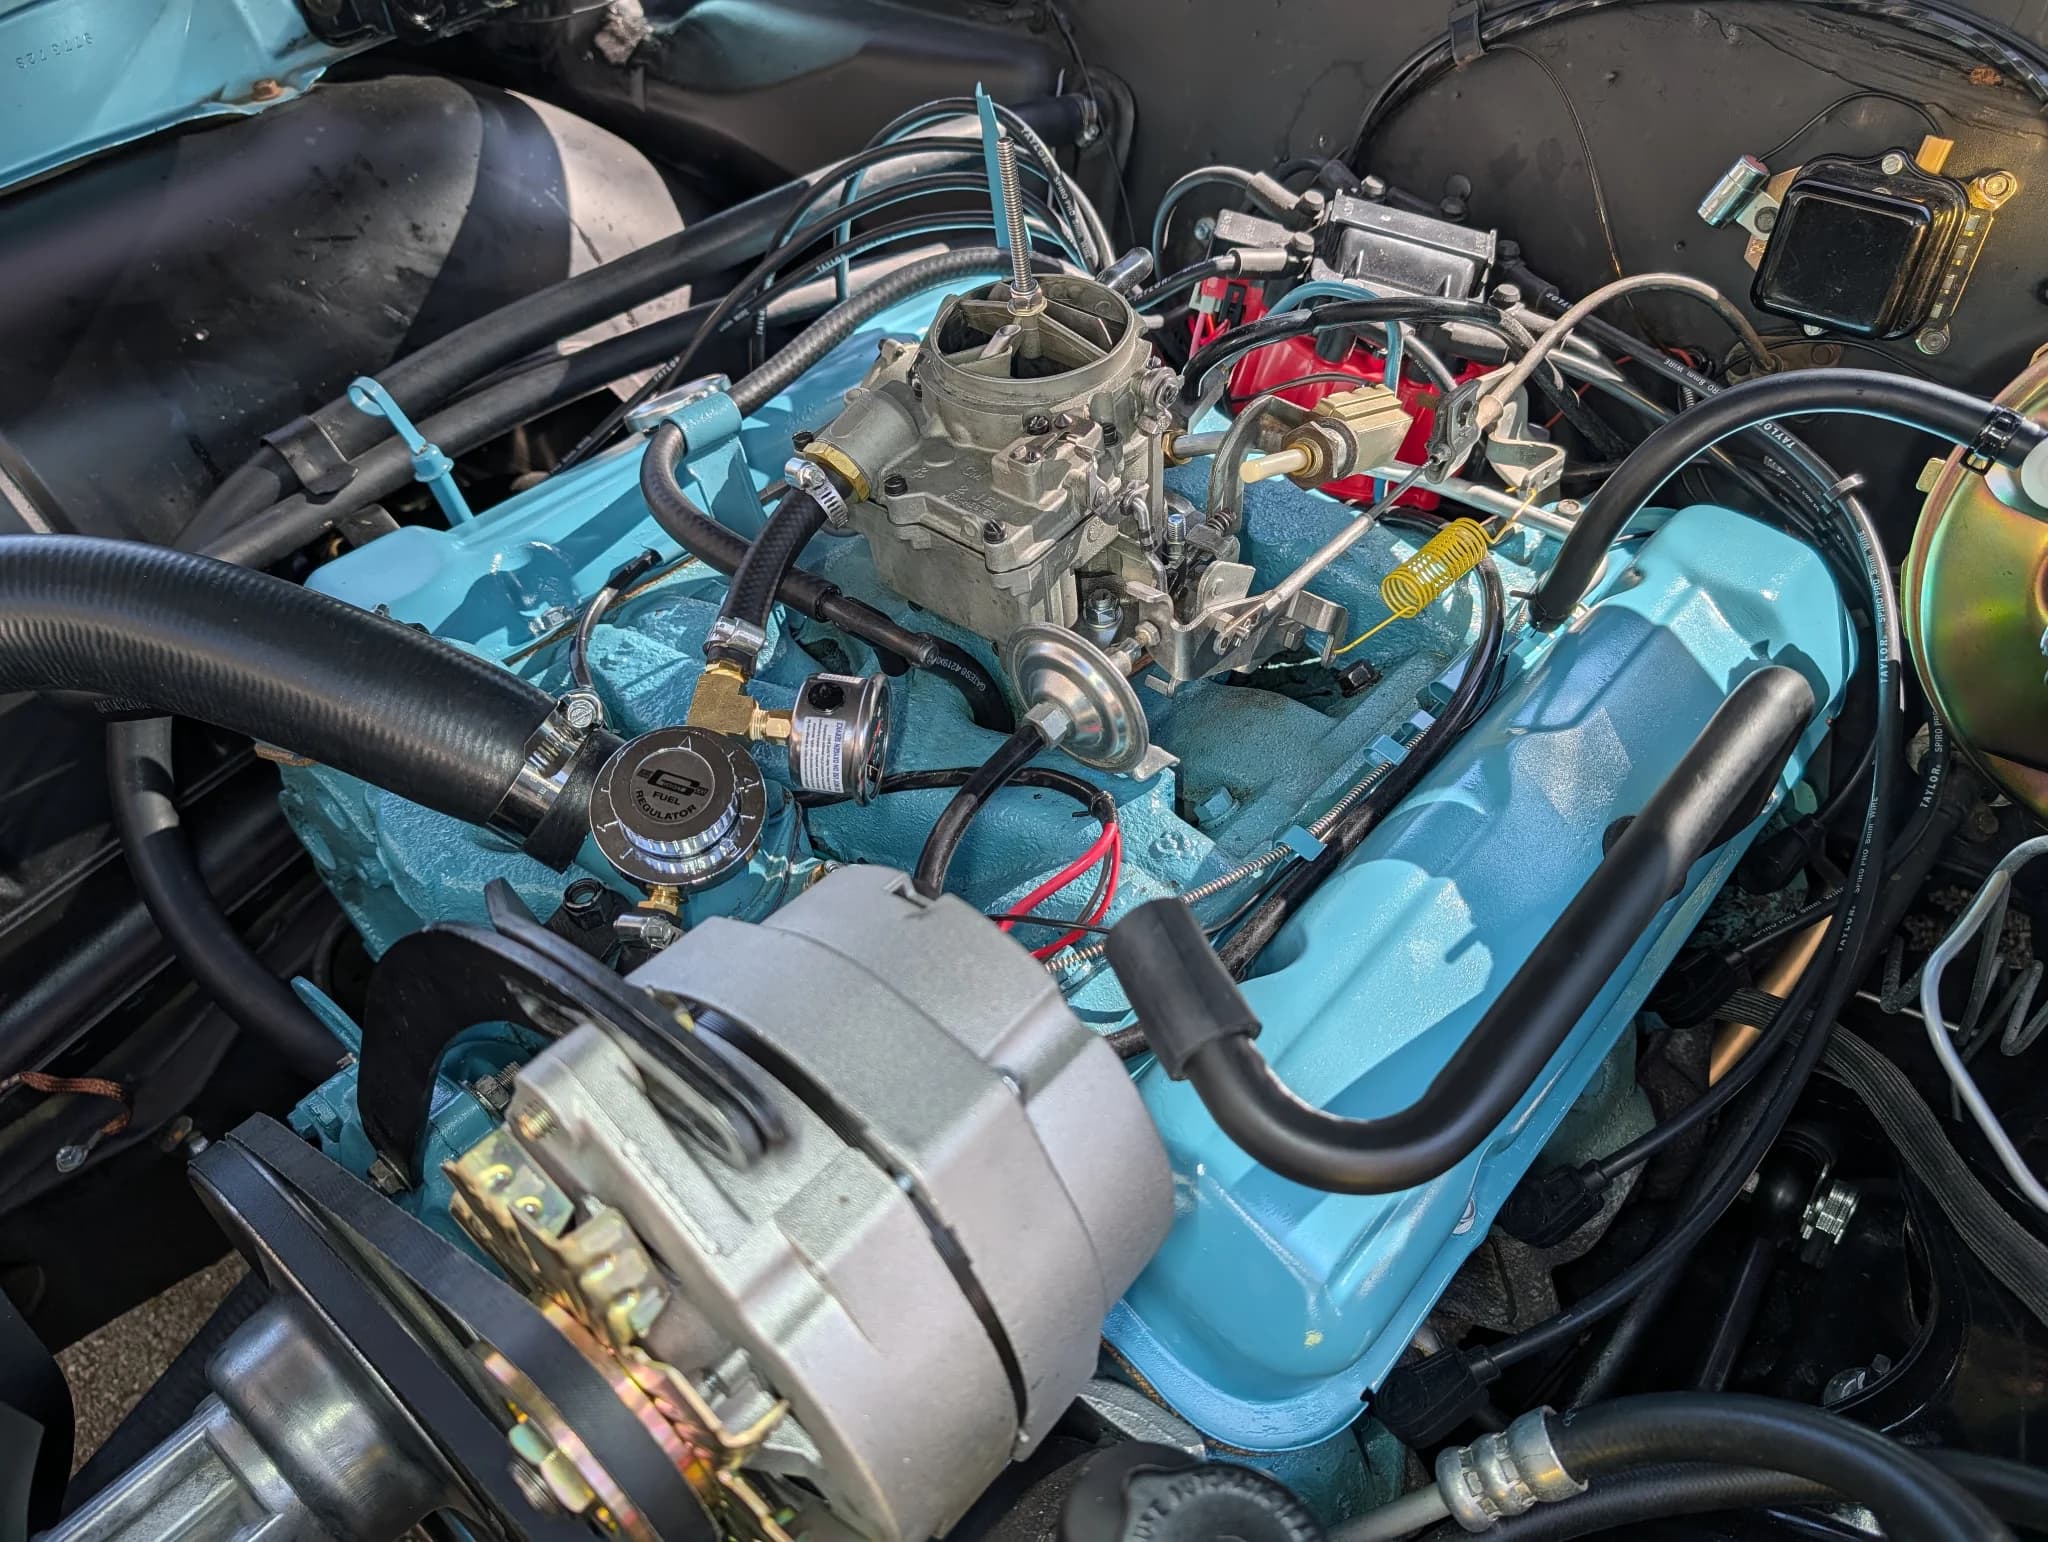
Back to basics. Back to blue.
Most of the car is stock, why not have the engine style stock as wel?!
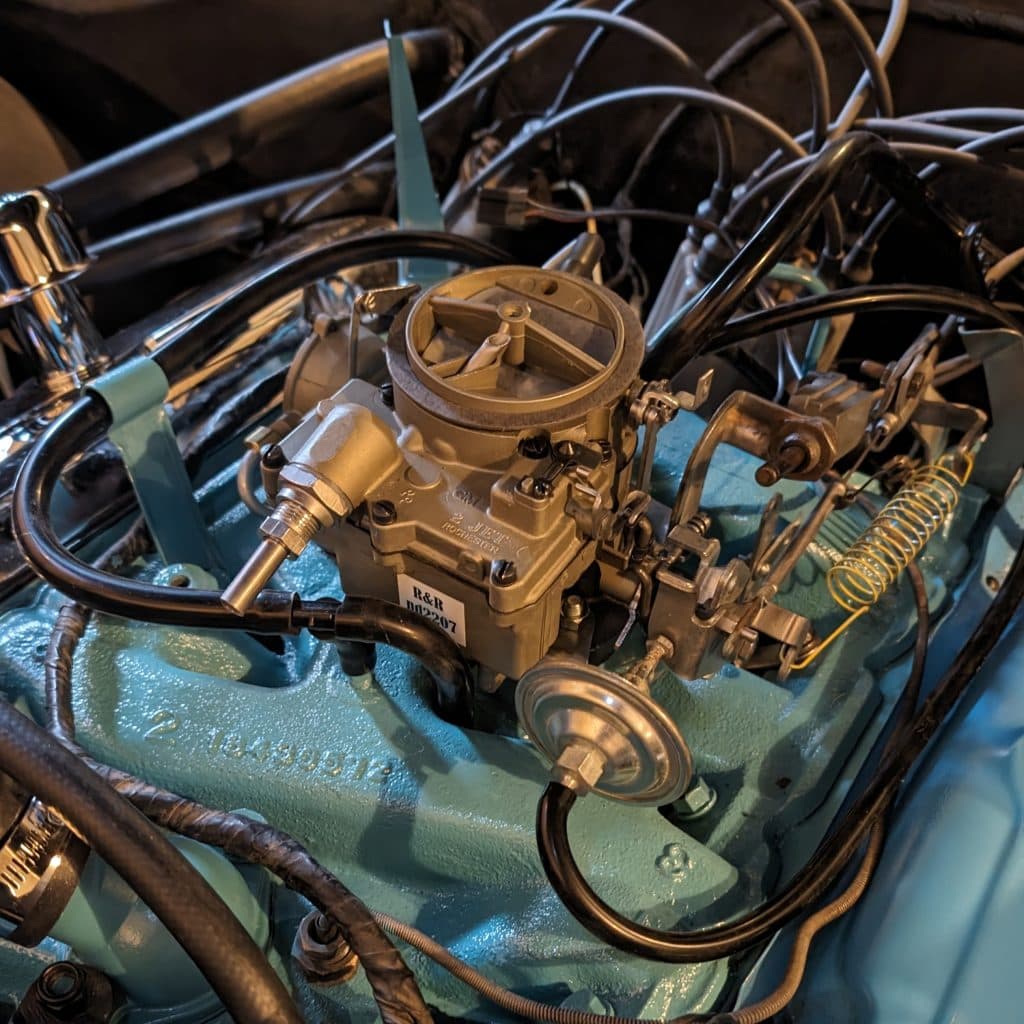
Carburetor Rebuild
Before After I sent the carburetor off to National Carburetors in Florida where they rebuilt it and sent it back quickly. They went the extra mile by adding th
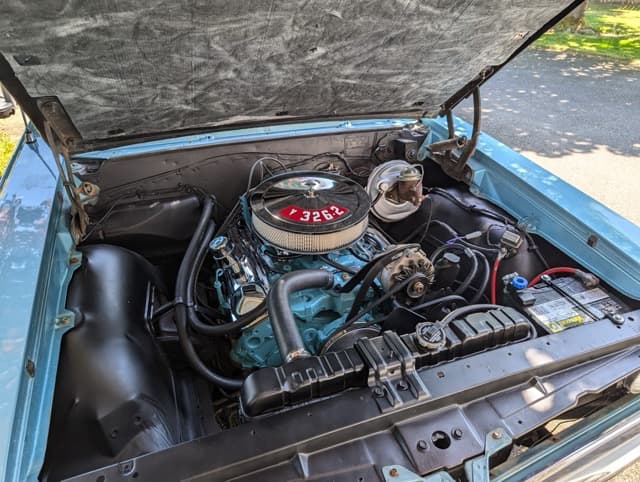
Engine Bay Painting
After Before